Solids of Revolution - The Disk Method
I used the following notebook to demonstrate the concept of solids of revolution and finding their volume using approximating disks. After evaluating the first command in this notebook, you will be asked "Do you want to automatically evaluate all the initialization cells in the notebook?" Click Yes, and Mathematica will automatically evaluate the commands under the heading "Initialization Code."
The most complicated part of these graphics is dealing with the many options involved: What are we rotating around? Do I want to look at the solid from the top, the bottom, the side, or somewhere else? This picture is too tall (or short)--how can I make it a more manageable size? To keep things from being too intimidating for my students, I set a bunch of defaults for the particular example I was doing in the initialization section.
First, a picture of solid generated by rotating the region between  and the x-axis around the x-axis.

Now, the solid above is approximated by taking slices perpendicular to the x-axis. This particular graphic shows an approximation with ten disks.

Here, the viewpoint has been moved to along the x-axis looking toward the origin. This highlights the circular nature of the slices.

I used the Table command to draw a series of approximations with an increasing number of subdivisions. Mathematica will animate the graphics in a flip-book fashion when you double-click any of the graphics generated. The presentation is a bit tidier if you close the group of cells containing all the graphics using the brackets on the far right-hand side of the screen, but that is not necessary.
The animation reinforces the concept that as the number of subdivisions increases, the disks actually get closer and closer to the original solid.

Initialization Code
This loads the SurfaceOfRevolution package and some information needed for the DisksOfRevolution command below.

This sets a few default options. The axis of revolution is the x-axis, though you could use {0,1} for the y-axis (but DisksOfRevolution is only written for x-axis revolution). The viewpoint moves the observer a little lower and further away than Mathematica's normal perspective. The aspect ratio forces the final picture to be just as tall as it is wide. Otherwise, the picture for my example would not have been helpful in class. (With AspectRatio Automatic, the picture is three times taller than it is wide!)

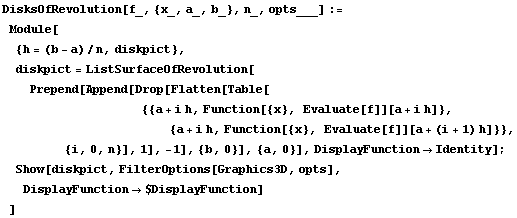
This is the code for drawing the disks.