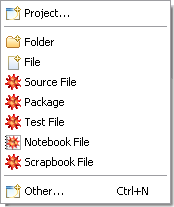
If you want to add a file to your project, you can create a new one. Alternatively, you could copy an existing file from inside the Workbench or from some other location. To create a file from the menu bar, select File > New. In the Mathematica Development perspective this gives you a number of wizards for creating new types of files, such as source files, notebook documents, or test files.
Choose one of the file types and a wizard for that type will open. For example, the New Source File wizard is shown below.
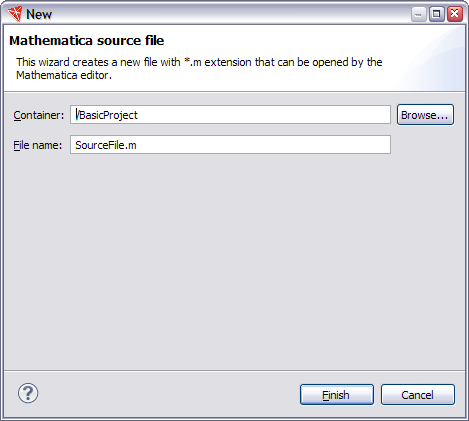
Enter the name of the new file, and select the folder in which you want it to appear. Then click Finish. The new file will appear in your project, and it will be opened in the Workbench.
There are also wizards for creating folders and other types of files; you can use them to create different types of files just by giving the appropriate extension.
Remember that if you have a file that already exists outside of the project, you can just copy the file and paste it into the project or use drag and drop (if this is available on your operating system). In addition, you can use the Import wizard. From the menu bar, select File > Import, and use the wizard.