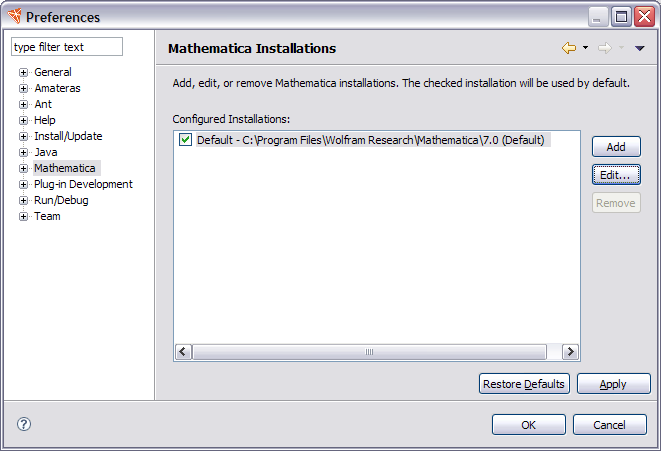
The initial page of the Workbench preferences lets you manage the
installation of Mathematica used by the Workbench.
To open the preferences,
select Window > Preferences > Mathematica, which opens
a window such as the following.
The default installation, denoted by a checkmark, is used to find resources, such as usage messages and applications.
You can add a new installation with the Add button and edit details of an installation with the Edit button. When more than one installation is present, there is also a Remove button.
If you add an installation, a dialog such as the following is opened.
In this example, a setting for an older version of Mathematica
is made.
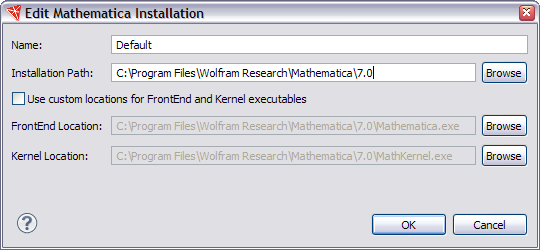
Here you can give the Mathematica installation a name and fill in its location. You can also give separate locations for the Mathematica front end and kernel. The front end is launched when opening a notebook document. The kernel is launched for running the kernel directly, such as when the tester is run.
Note that when you run through the front end, it selects the kernel that gets used, as described in the section on launching Mathematica.
You can modify the front end and kernel locations for an individual project with the location Project Properties dialog box.