This is a convenient way to take your project and use it in a copy of Mathematica on your computer. If you want to take it to another computer, it might be easier to use the export to archive wizard.
To export to the file system, you should open the
Export wizard, select
Mathematica > Project to File System,
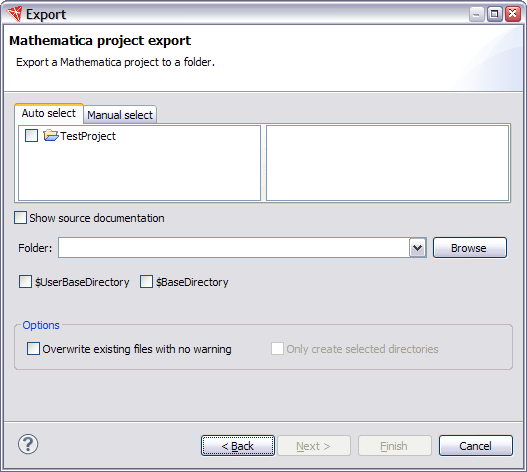
and click Next. This opens a page that
looks like the following.
Now you have to choose the files and folders you want to export and the destination where you want the export to go.
 Choosing Files and Folders
If your project is organized as a
Mathematica application,
the Workbench provides a convenient way to select contents
for the export. This is with the Auto select tab.
With this tab you can select a project and the page shows
you what files will be included in the export.
An example is shown below.
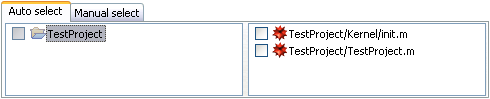
In this example, the project TestProject has been
selected and you can see that it contains two items,
TestProject/TestProject.m and TestProject/Kernel/init.m.
If you want to include these in the export, you should check
the project (or individual items).
This is shown in the following.

If your project was not laid out as a Mathematica application, then you could use the Manual select tab to choose files for the export.
Choosing a Destination
You have to choose a destination before the wizard can
finish. Useful locations are $UserBaseDirectory
and $BaseDirectory, which make the application
available for all installations of Mathematica
on your computer.

Documentation
If your project contains documentation for the Mathematica help system,
the wizard will provide a page to include it in the output.
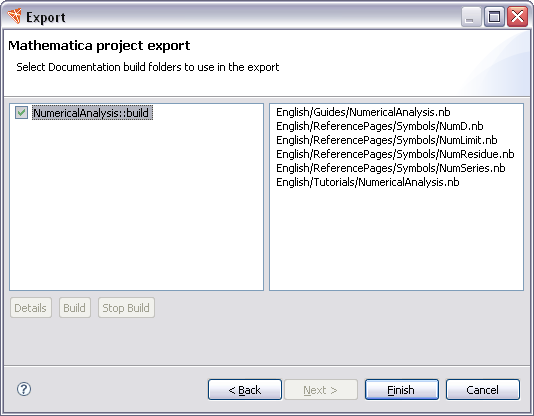
This is described in the section on documentation development.
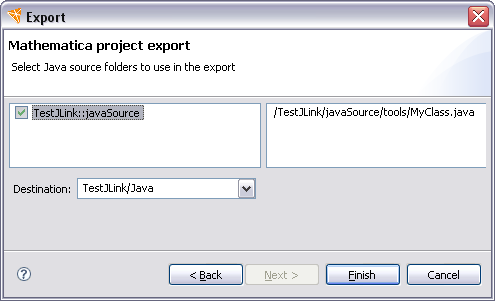
J/Link Projects
If your project is a
J/Link project
you will see an extra page in the wizard.
The purpose of the extra page is to process
any Java source code that you have. In this page you have
to select any source folders that you want to include.
The destination for the complete jar file also has
to be entered. A sample page is shown below.
Completing the Export
When everything is completed in the wizard, you can click Finish and it will carry out the export task.