Basic principles of working with UnityLink.
In this first project, we create a simple simulation game that shows many of the principles of working with scenes, game objects, components, prefabs and physics.
Project Setup
We start by loading the UnityLink package:
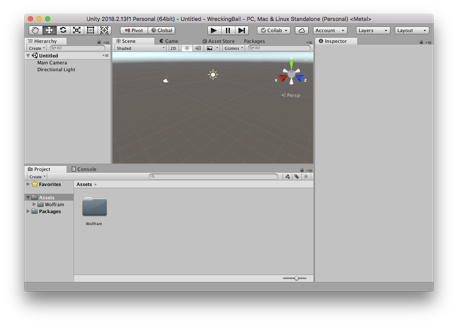
Next, create a new project called “WreckingBall” in your home directory:
- By default, the project path passed into UnityOpen is relative to the $HomeDirectory. However, UnityOpen also accepts absolute paths.
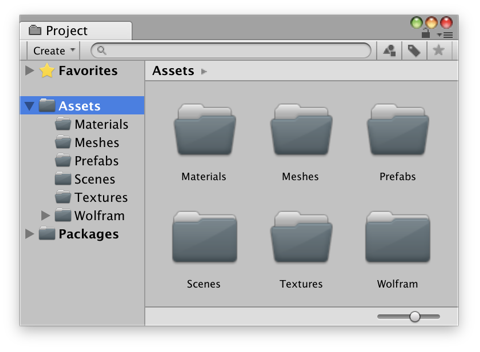
Create five asset directories that we will use to keep the project organized:
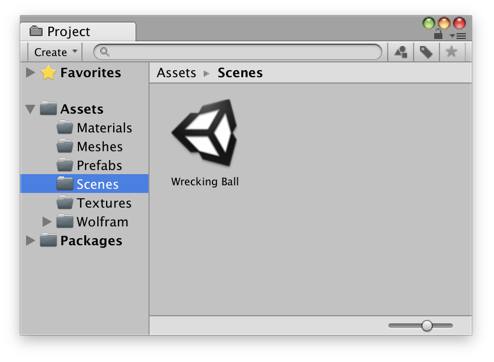
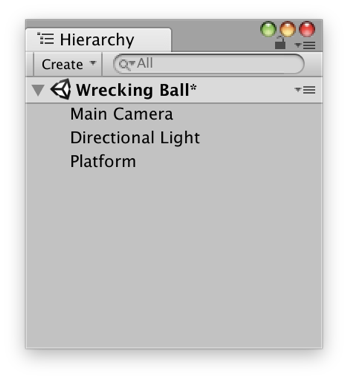
Create a new scene and save it to the Scenes directory:
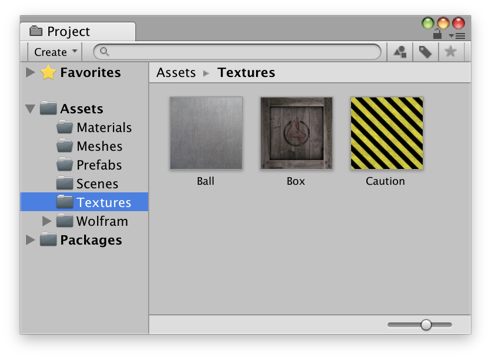
Create three texture assets from images and save them to the Textures directory:
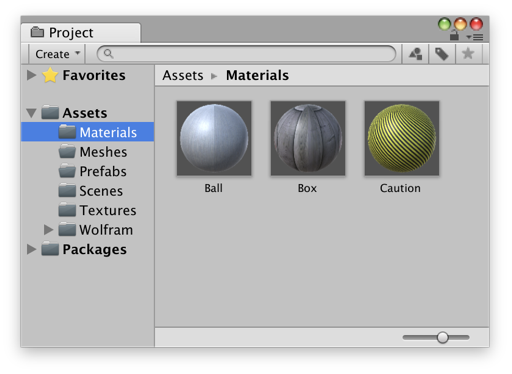
Create three materials, one for each texture, and save them to the Materials directory:
Scene Setup
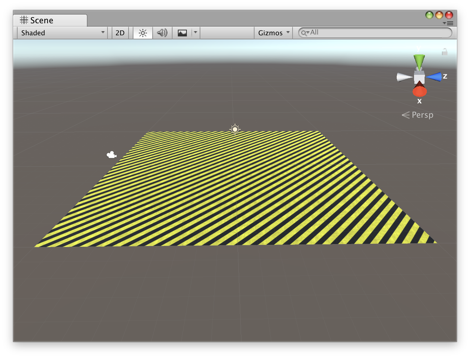
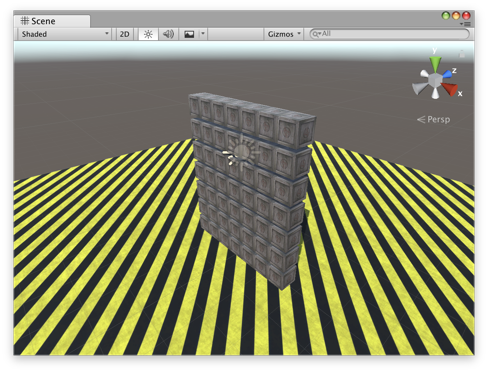
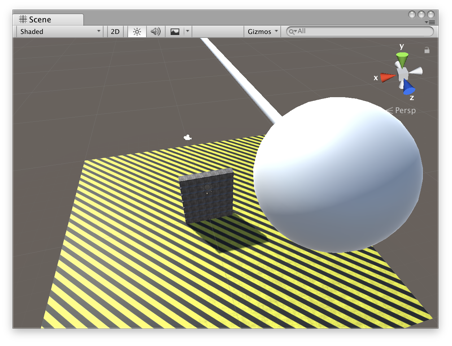
Create a square platform centered at the origin that is 20x20 units large.
- UnityLink contains functions for creating all the Unity mesh primitives (plane, cube, sphere, cylinder, capsule, and quad).
Assign the Caution material to the platform game object:
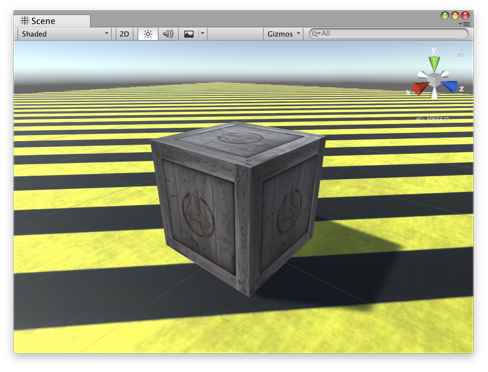
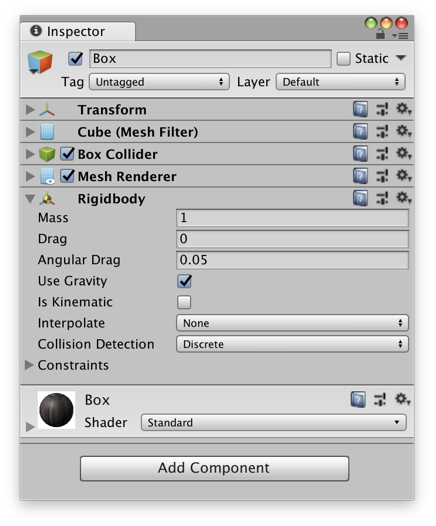
Create a Unity cube called “Box” and assign its material to be the “Box” material:
Add a rigidbody component to the box:
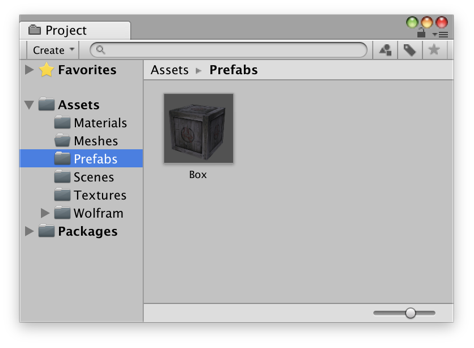
Create a prefab from the box and save it to the Prefabs directory:
Delete the original box object since we no longer need it:

Get some positions for the boxes that will make up our wall:
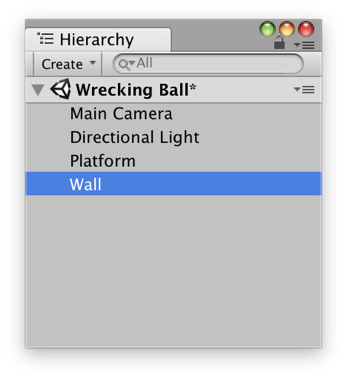
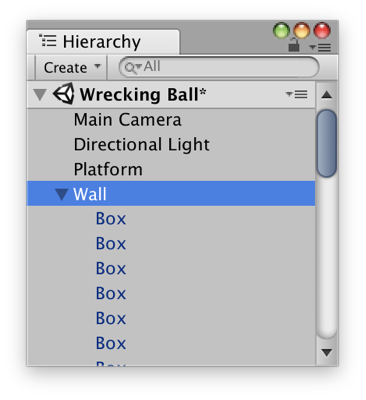
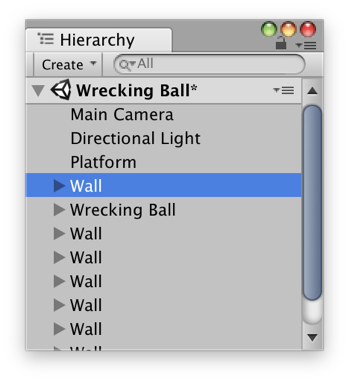
Create an empty game object to be the parent of all the wall boxes:
Instantiate a box at each position and make it a child of the wall object:
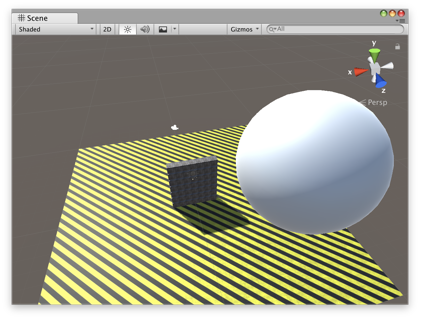
Create a Unity sphere primitive to act as our wrecking ball:
Attach a hinge component to the wrecking ball and set its anchor to be above the wall:
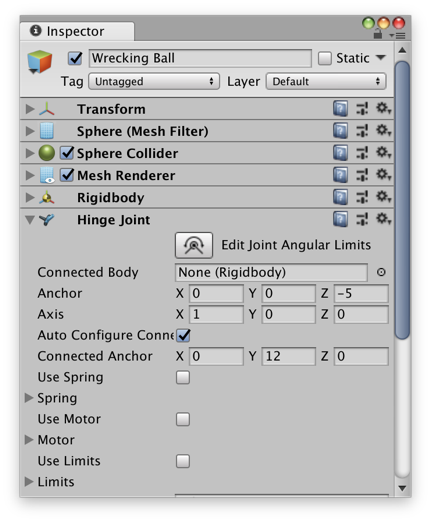
Increase the mass of the ball to give it more power:
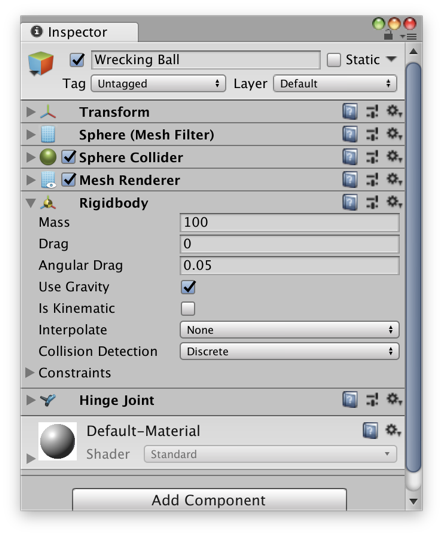
Create a pole from the wrecking ball to its anchor point:
Assign the material to the ball:
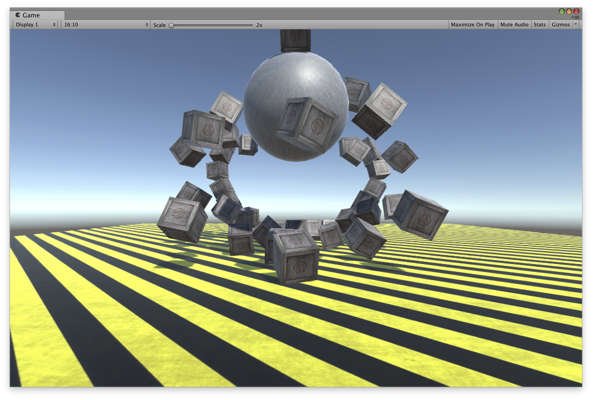
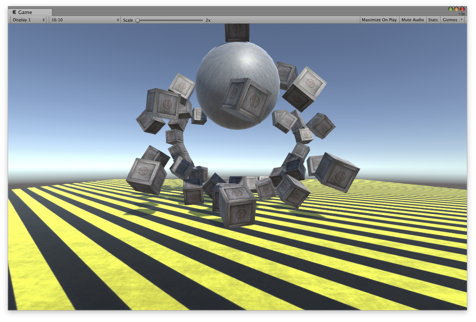
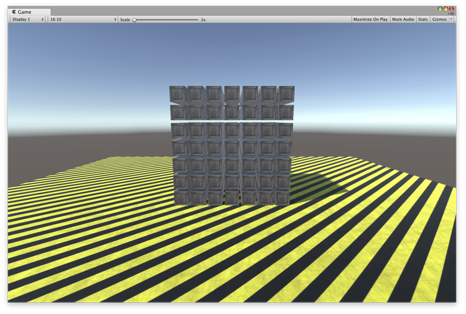
Start the simulation:
Stop the simulation:
Additional Changes
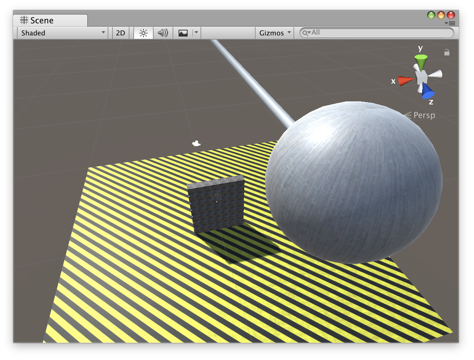
Move the camera to get a better view of the walls:
Use UnityCameraImage to get the view of the main camera:
Find the wall parent object:
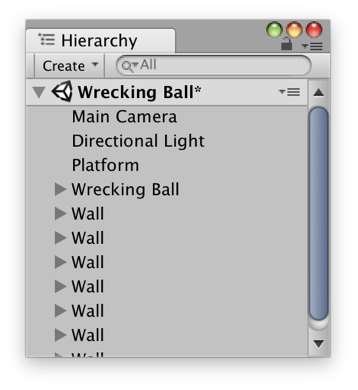
Duplicate the wall to add more layers:
Delete our original wall object:
Start the simulation and immediately pause it:
Get the initial frame:
Step 100 frames to when the wrecking ball first hits the boxes:
Finish the simulation:
Get the last frame:
Stop the simulation:
Save the scene: