Using Notebook Assistant
Using Notebook Assistant
This functionality requires a subscription to Wolfram Notebook Assistant + LLM Kit »
Notebook Assistant provides interactive natural language–based assistance with Wolfram Language code and other notebook content.
Access Notebook Assistant from the Assistance section of the notebook toolbar or from the Help menu:
This functionality requires a subscription to Wolfram Notebook Assistant + LLM Kit.
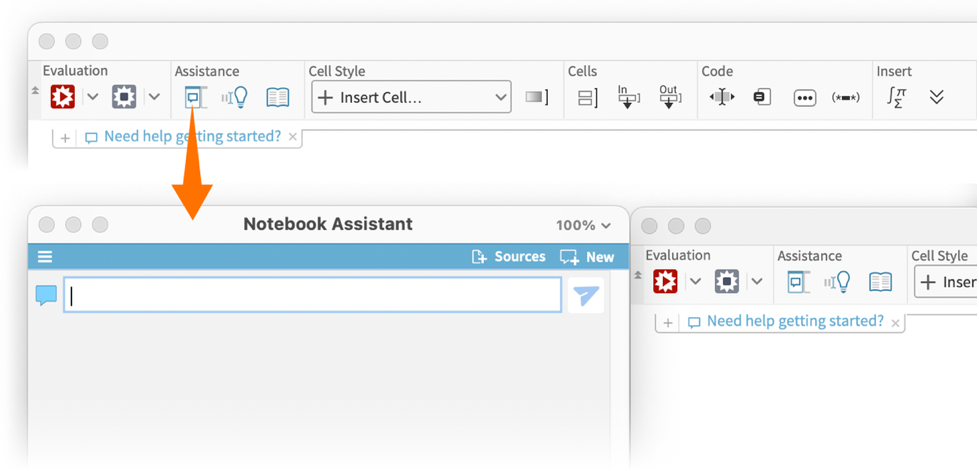
The different elements in the Notebook Assistant chat window provide ways to provide context to the Assistant about what it should focus on.
Starting a New Chat
Notebook Assistant will consider the entire content of a chat session in each of its responses. In a long session, that can include irrelevant content. Starting a new chat session when you change the subject of your work ensures that Notebook Assistant will focus on the correct topic.
Managing Chat History
Click the History button (  ) to toggle between your current chat session and a list of previous chat sessions.
From the History view, you can load a previous chat session by clicking its name, open a chat as a separate notebook or delete a chat.
Selecting Focus & Sources
Managing the context of what Notebook Assistant is looking at in a given chat session is very important. Two ways to do this are changing the Focus notebook and selecting Sources.
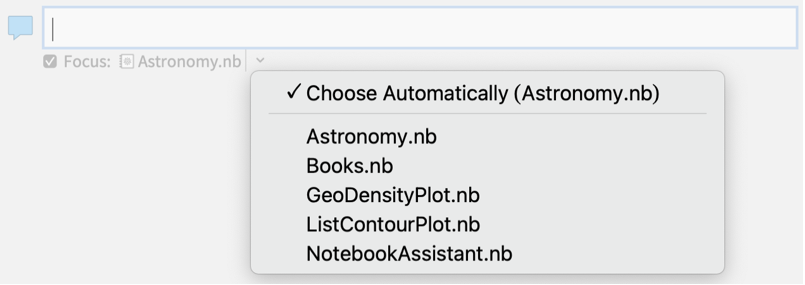
The focus automatically switches to the currently active notebook. If your chat does not concern any of the notebooks that are currently open, uncheck the Focus box under the chat field.
If you want to lock the focus of the chat session to a specific open notebook, you can change it by using the drop-down menu under the chat input field. The menu lists notebooks that are currently open and that are selected in the Sources view.
Click the Sources button (  ) to choose sources that Notebook Assistant can use. To ensure that an open notebook is never available for use, uncheck it in the Sources view.
Open a Chat Session as a Notebook
Click the  button to move a chat session into a new notebook that you can edit, save or share as usual.
To get suggestions that you can immediately insert into a notebook, click the "inspiration button" (  ) or Ctrl+K. Notebook Assistant will make suggestions for inserting code or text or for revising content, depending on the context: where the cursor is in a cell and what kind of cell it is.
Applying a Suggestion
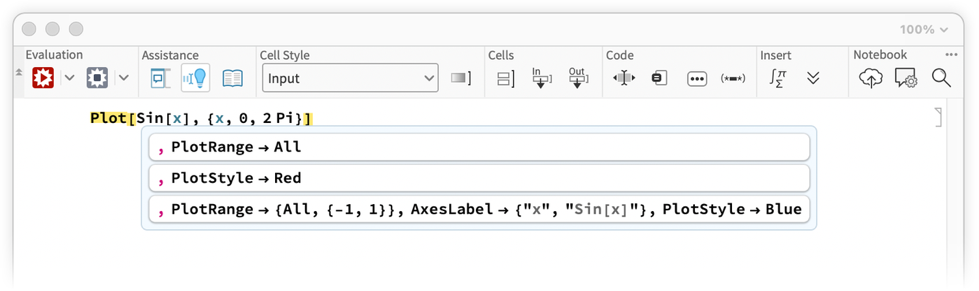
Notebook Assistant suggestions appear as a popup with a list of selections to choose from. Click one to add it to the notebook.
Content from suggestions can be edited, removed or moved to another location in the notebook, just like any other notebook content.
Code Completion
For example, to get autocomplete suggestions for function parameters or options, place the cursor in code and click the  button.
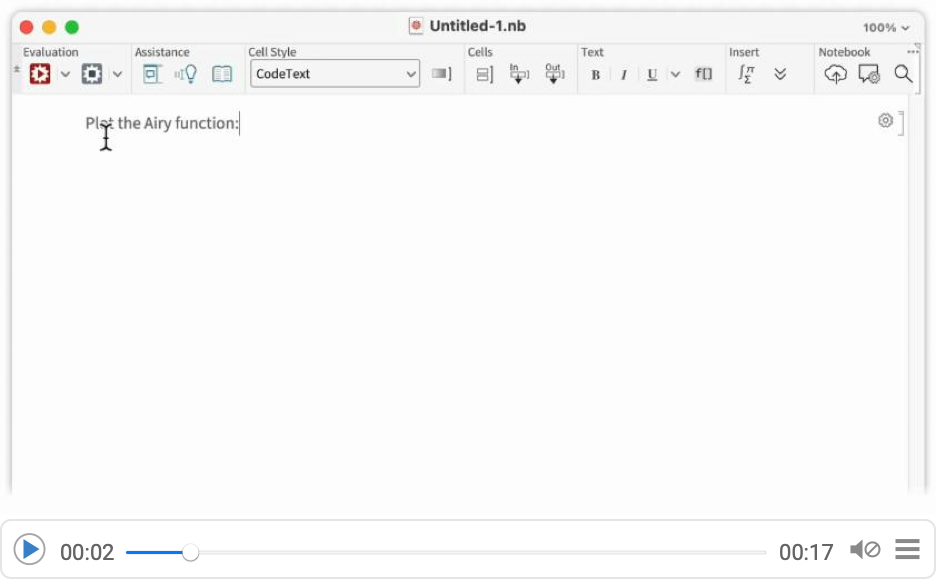
To get suggestions for specific new code, write a text (or CodeText) cell describing what the code does. Then create an input cell, put the cursor in it and click the  button.
Code Editing
Highlighting code and clicking  can also produce suggestions to shorten the code, make it faster or more functional or otherwise improve it:
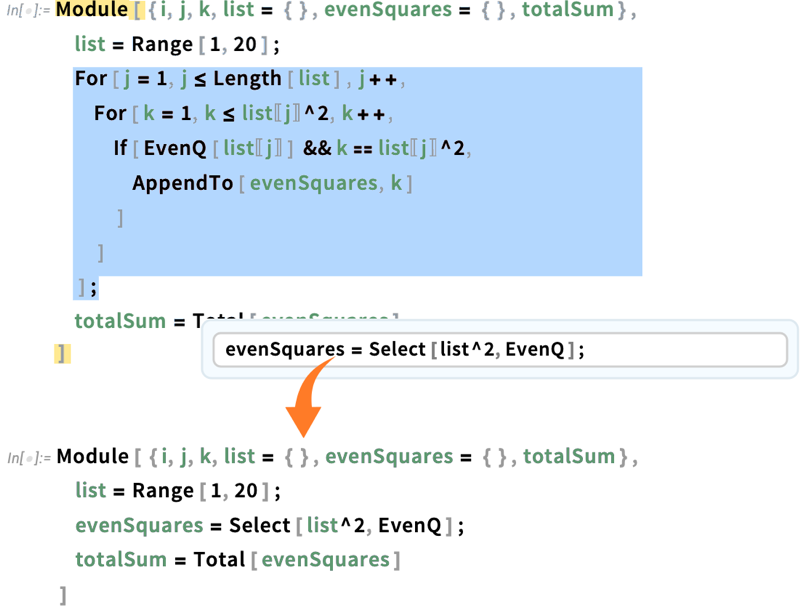
Changing a code caption and then highlighting the code can produce suggestions for revising the code, for example, to change the calculation being performed.
Text Suggestions
Notebook Assistant will provide suggestions for text content such as headings and descriptions as well as code.
To get suggestions for code captions, create a CodeText cell above an existing Input cell and click the  button. Notebook Assistant will suggest text to describe the code.
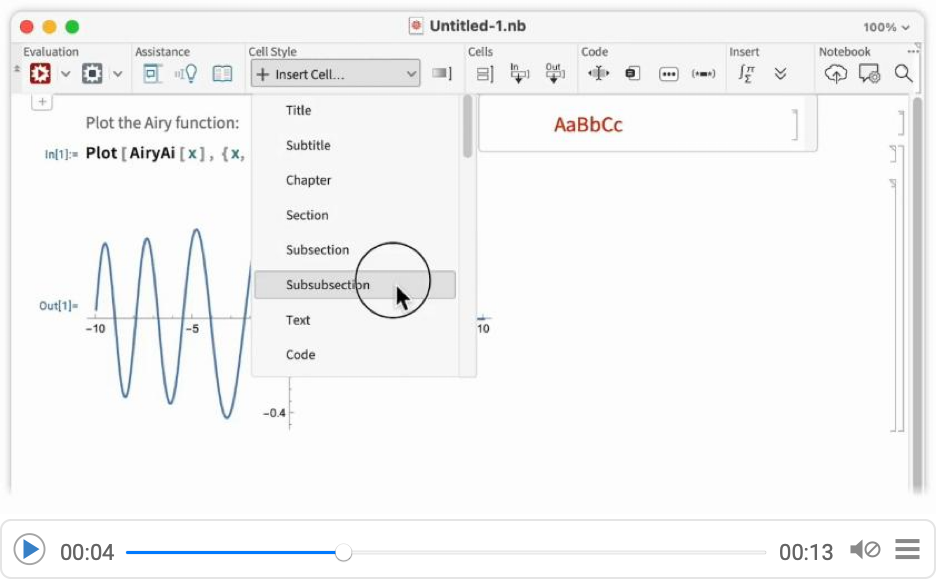
To get suggestions for titles or headings, create a title or heading cell, put the cursor in it and click the inspiration button.