This is a convenient way to take code developed in a Mathematica notebook document and introduce it into a project in the Workbench. An alternative would be to use copy and paste.
To import from a notebook, you should open the
import wizard, select
Mathematica > Code from a File,
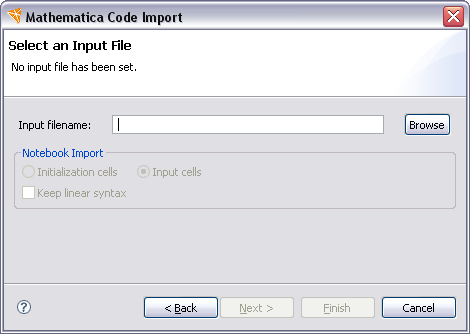
and click Next. This opens a page that
looks like the following.
Now you should enter the name of the file to import; the
Browse button might be useful for this. If you
enter the name of a notebook document, a .nb file, the
page should look something like the following.
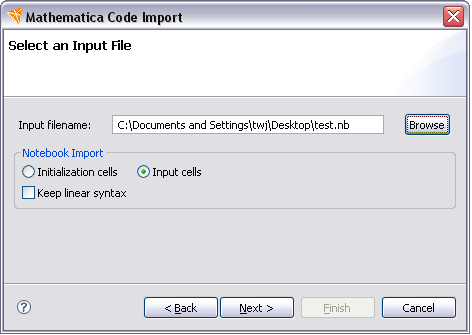
This lets you import only from initialization cells or all input cells. When you have entered the name of the file, you can click Next and this lets you select the output location in the project. After this you can finish the wizard and the import is carried out.
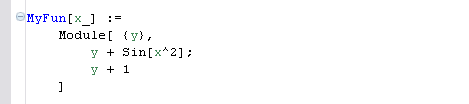
Before import, the code in the notebook file
might look something like the following.
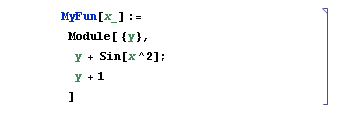
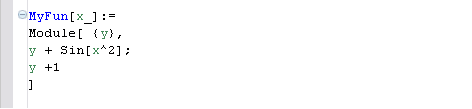
After import, the imported code in the notebook file
might look as shown below.
After importing some code it might be worth using the
code formatter. This can improve the appearance
of the code.