You can open different types of files in the Workbench by clicking them in a view such as the Package Explorer view. For example, you can click Test.m, the name of the file you created, and it will be opened in a special Mathematica code editor in the Workbench.

You can now type a definition of a Mathematica function into the .m file. When you have done this and saved the file, the name of the function appears in the Outline view; in the image it appears in the lower left and has the title Outline. The Outline view of Mathematica source code is a very useful way to get an overview of all the function definitions. If you click the name of a function in the Outline view, the definition is displayed in the editor.

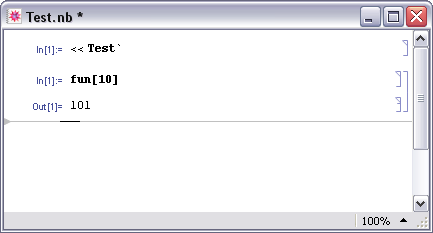
If you click the notebook file, Test.nb, it will be opened in the Mathematica notebook front end. This is a useful way to enter temporary definitions, experimental features, and sample cases while you develop Mathematica solutions.
If the notebook front end does not open, you should check the location of the front end as specified in the Workbench preferences. From the menu bar, select Window > Preferences, and then click Mathematica. Here you can set the location of the notebook front end. More information is found in the preferences reference.
 Using the Project
When you open a notebook from a project, Mathematica is configured so that you can load and run code from the project. For example, in the Test project you can click the notebook file, Test.nb, then you can load the .m file and execute commands.

When the Workbench runs in this mode it is not strongly connected to Mathematica, so that if you modify your code you will have to manually load it, and you cannot do debugging. For these, you need to do a launch in run or debug mode.