How to | Create a Slide Show
You can create and present slide shows directly from within the Wolfram System. The Wolfram System provides an integrated workflow from initial experimentation to final presentation. Wolfram System-based presentations can contain interactive interfaces and live computations, letting your audience see the effects of changes to parameters in real time.
Selected examples from the video:
Slide shows can be created from existing notebooks or from the start. They can contain absolutely anything you can put into a Wolfram System notebook.
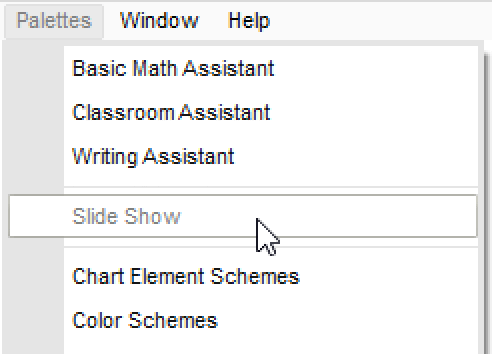
The easiest way to create a slide show is to use the Slide Show palette. To open it, select Palettes ▶ Slide Show:
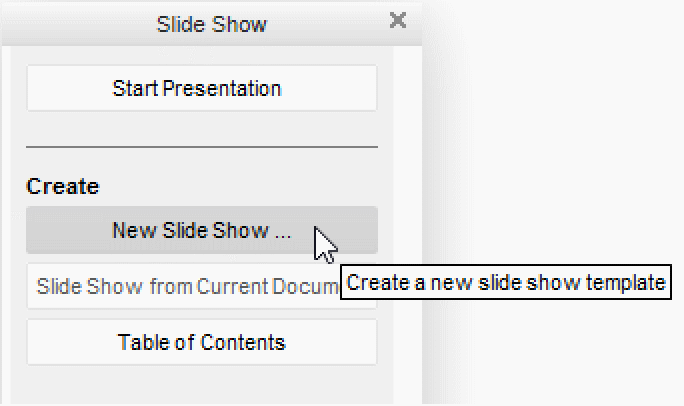
To create a new slide show, select New Slide Show on the Slide Show palette:
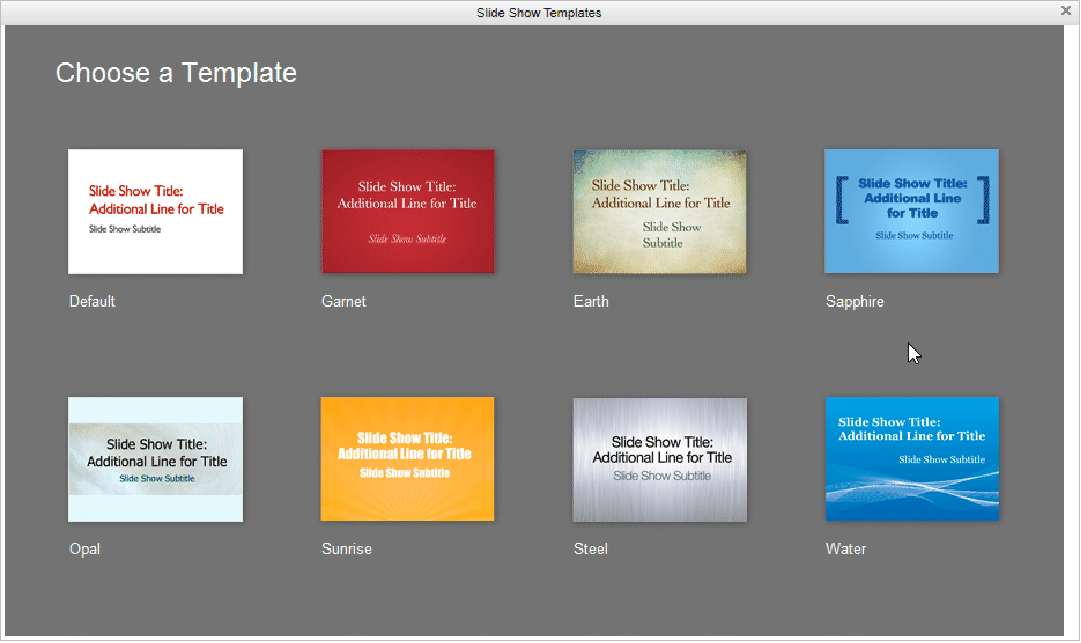
Choose a template from the slide show template chooser. This opens the template notebook:
You can add content to any of the slides in the template and add new slides as you wish. Add this interactive plot to a slide:
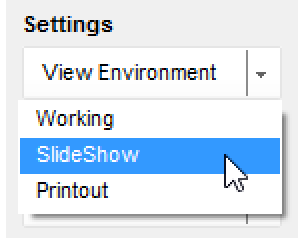
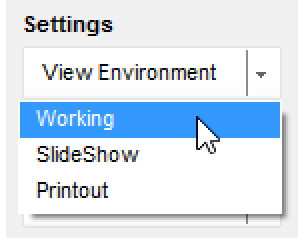
To view this content in slide show mode, choose the SlideShow environment from the View Environment drop-down list of the palette:
In slide show mode, some adjustments are needed: the interactive plot is too large for the viewing area and the menu items and operating system windows are still visible. You may also want to hide the command used to create the interactive plot. While deleting the command does not affect your ability to view and use the interactive plot, you would not be able to change it later.
To fix these things, first return to authoring mode by clicking the Working environment from the View Environment:
Double-click the cell bracket containing the plot to hide the command used to create it.
Here, the command used to create the interactive plot has been hidden. (To see the command again, double-click this outer bracket to open the cell group.) Note that the triangular flag on the outer cell bracket indicates the direction of the hidden command:
Click the Start Presentation button on the Slide Show palette to start the presentation. This displays your slide show in full screen mode. To escape full screen mode, click ![]() button in the top-right corner of the window:
button in the top-right corner of the window:

Adding new slides to an existing slide show is very simple.
In the working environment, click where you want to add a slide. A light horizontal line with a blinking cursor will appear.
Add a new slide by clicking the New Slide Template or Blank Slide button in the Slide Show palette.
You can also use the Slide Show palette to turn an existing notebook into a slide show. Open your notebook and click the Slide Show from Current Document button on the palette.
A small window pops up that lets you choose the cell styles that the Wolfram System will use to create slide breaks. The notebook used in this screencast is organized by title and section cells, so selecting Section and Title and then clicking Insert will create a slide show notebook where the title and each section are slides:
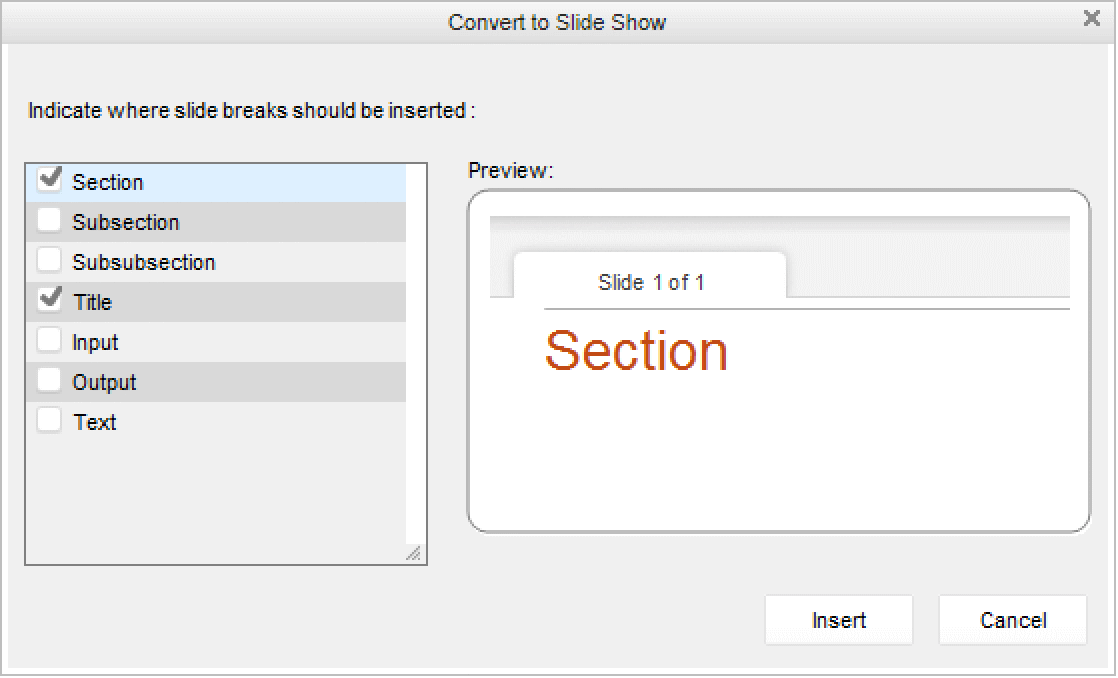
The presence of slides is indicated by the slide show break cells, which are the gray horizontal lines that separate each of the slides. These break cells were inserted before each of the cell styles that were selected in the Convert to Slide Show popup window.
You are now ready to view the notebook as a slide show.
For more information on creating cells in the styles shown here, see How to: Create and Work with Cells.