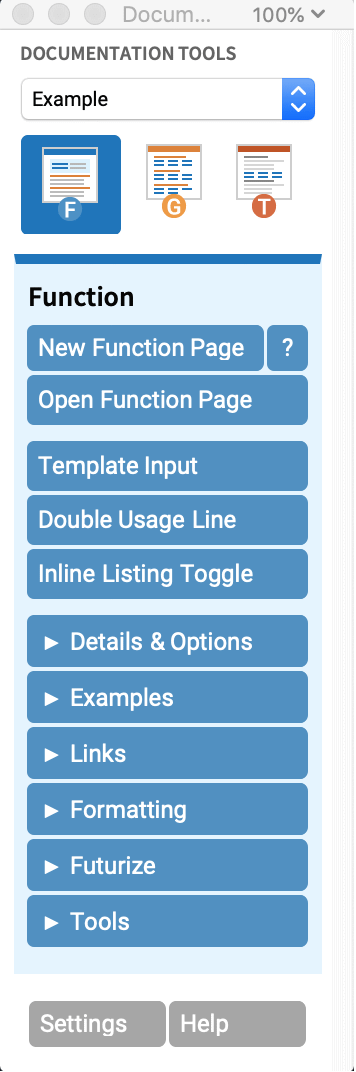
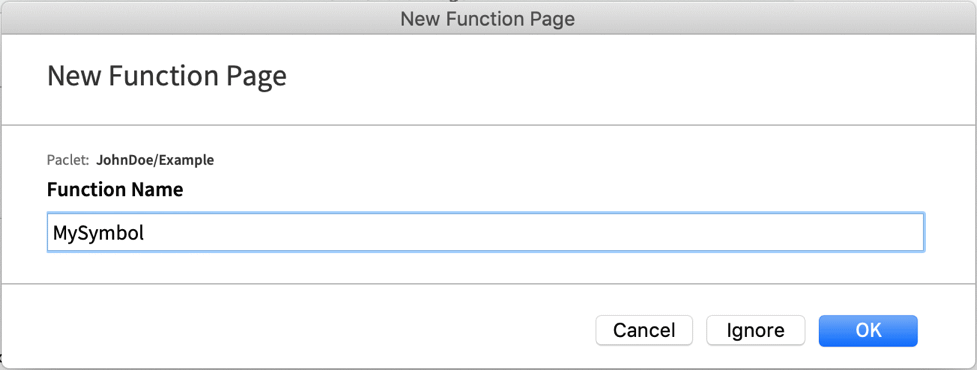
Authoring Symbol Pages Using Documentation Tools
| Setting Up DocumentationTools | Adding Search Index Information |
| Authoring | Leaving Four X's |
| Adding Cross-Links | Preview Button |
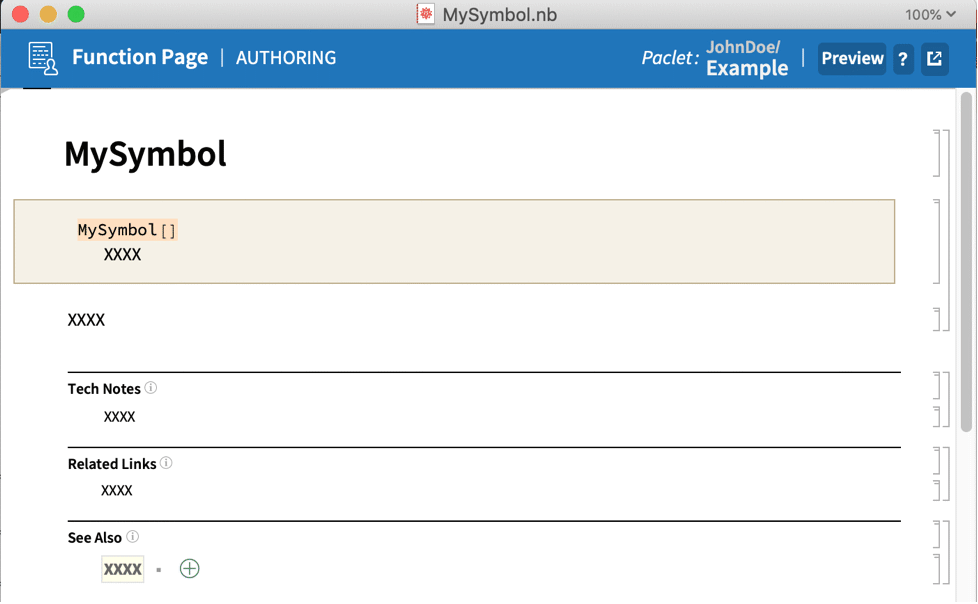
Note: The authoring notebooks contain a series of placeholders that will not be included with the build unless you explicitly edit them. These placeholders will typically contain four X's.
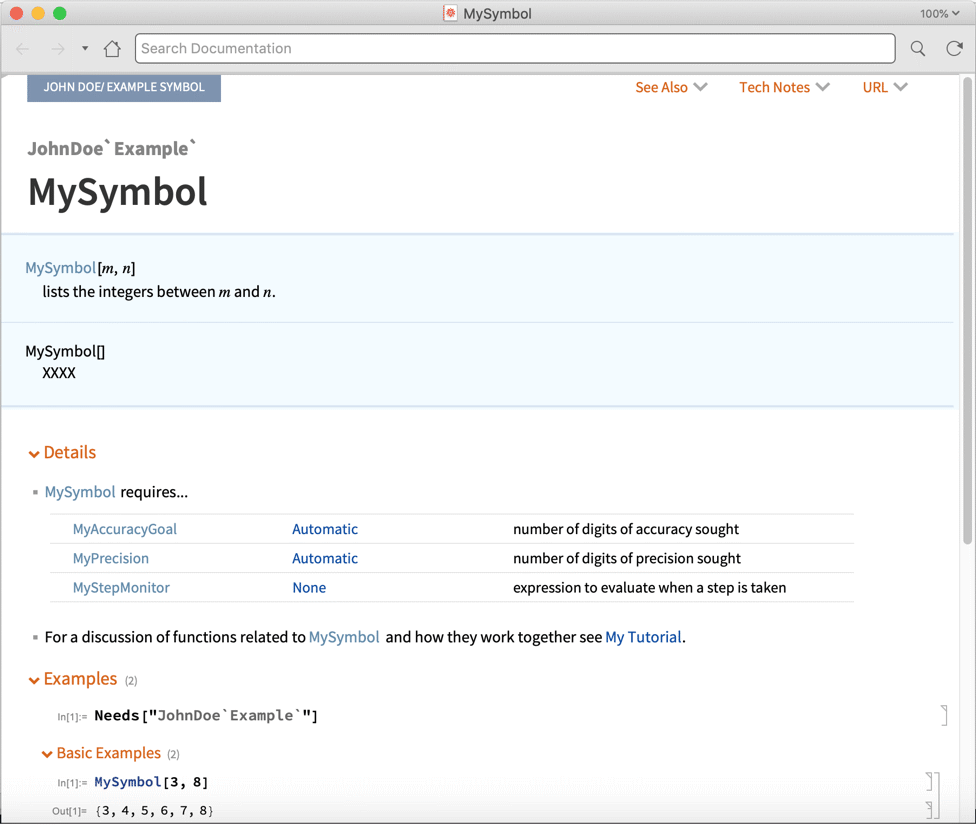
Usage and Templates

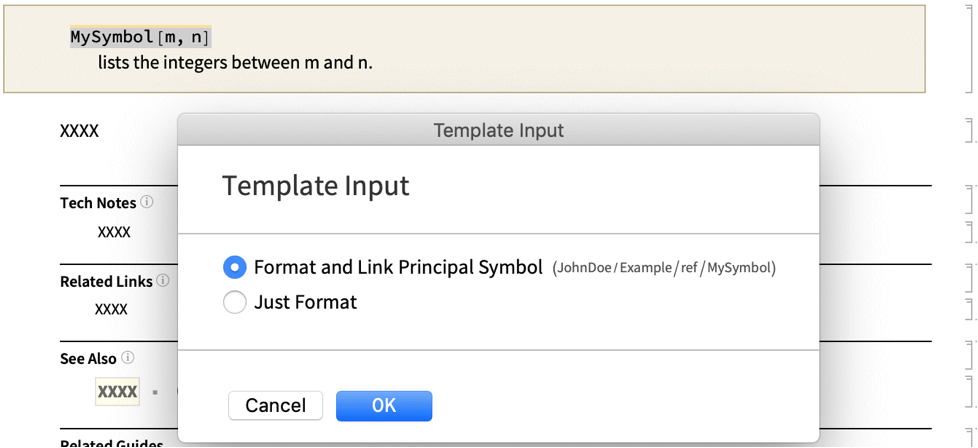
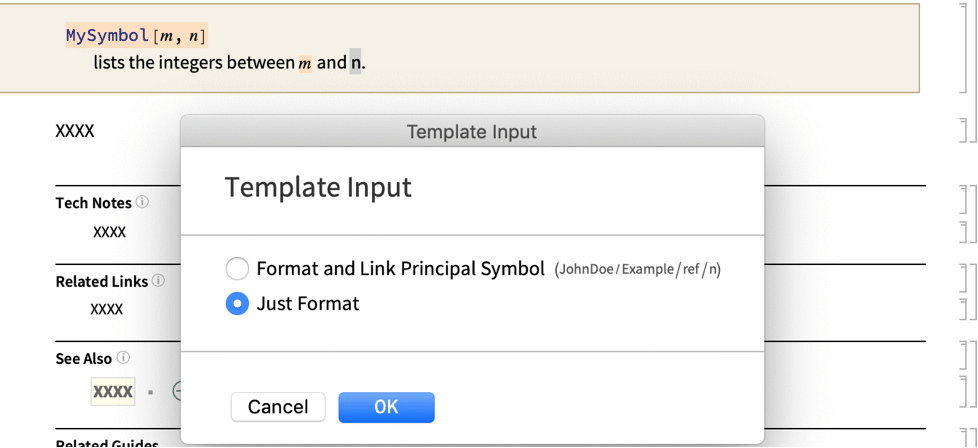
The Template Input dialog will appear. Select the top radio button and click OK to format the selection as a symbol in the package. This is the preferred formatting for your function template and any occurrences of your package function names in the authoring notebooks.

Individually highlight the inputs for the function in the usage message ("m" and "n" in this example) and select Template Input. The Template Input dialog will again appear. Select the bottom radio button and click OK to format the selection without linking to any package. This is the preferred formatting for the inputs for your functions.
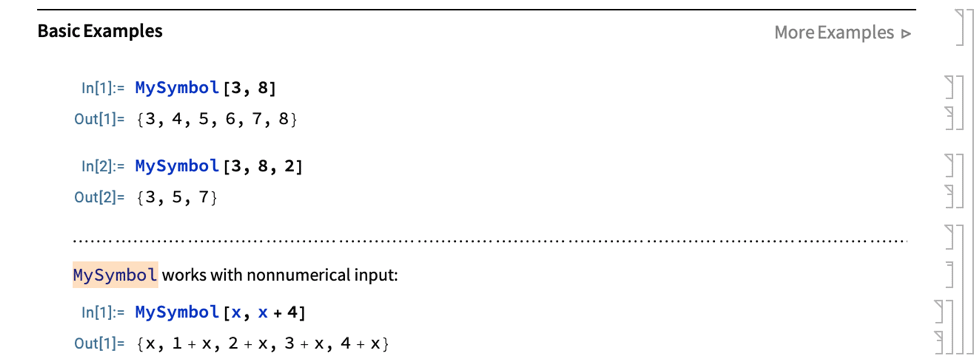
The final result should resemble:


Follow the same procedure mentioned above to add a new template and usage message.
Note: Template Input should be used to format any references to the function or its inputs anywhere in your documentation notebook.
Note: Template Input should also be used to format any references to Wolfram Language functions. However, as these functions are built into the Wolfram Language, a dialog will not appear when Template Input is clicked.
Notes and Options Tables
Enter an options table by placing the cell insertion bar above or below a notes cell and doing one of the following:
- If you have already written a package (.wl) file, select Notes ▶ Options Table on the Documentation Tools palette. This will automatically load your package and open a dialog listing Options that have been defined for the current symbol. In the dialog, check the options you want to include, add descriptions in the input fields and click Insert.
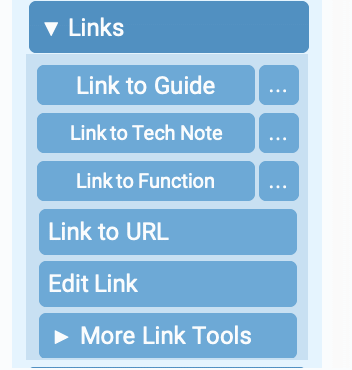
- If not, position your cursor between cells where you want to insert an options table, click Insert Custom Table to insert a table with a number of rows that you specify, and in the resulting dialog choose 3 Column and click OK. Otherwise, in the Details & Options ▶ Table Tools section of the Documentation Tools palette, select the button to insert a 3-column code input table. Use the Add Row button to add rows as needed. For each option and value, you will need to highlight it, select Links > Link to Function, select the upper radio button from the dialog that appears and click OK. The options go in the left column, default settings (or values) in the middle column and a short description in the right column.
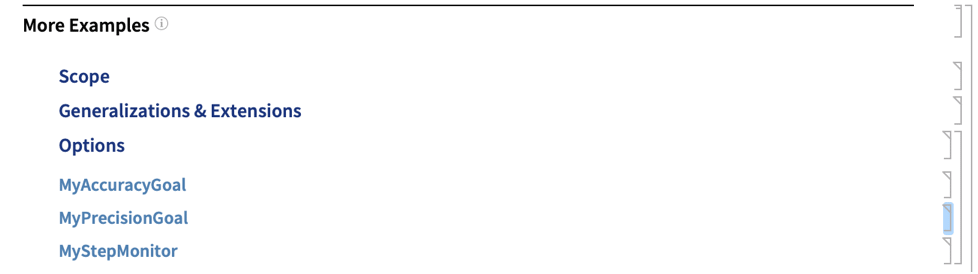
Examples

Navigate to the Basic Examples section in the authoring notebook and place the cell insertion bar just below the header. By default, typing in the Basic Examples section will create new code input cells. Use Examples ▶ Insert Text on the Documentation Tools palette to insert text that describes the functionality an example is demonstrating. Each group of related examples should be separated by a delimiter, which can be added by selecting Examples ▶ Insert Delimiter.
Note: The most effective examples introduce a single new feature of a function. Crowding examples together with multiple options can make it difficult for users to determine what each of the options does.