Prepare a paclet and publish it in the Wolfram Language Paclet Repository
Create a Paclet Resource Definition Notebook for an existing paclet
Open a dialog and select a directory containing a PacletInfo file:
ResourceFunction["CreateResourceNotebook"]["Paclet"]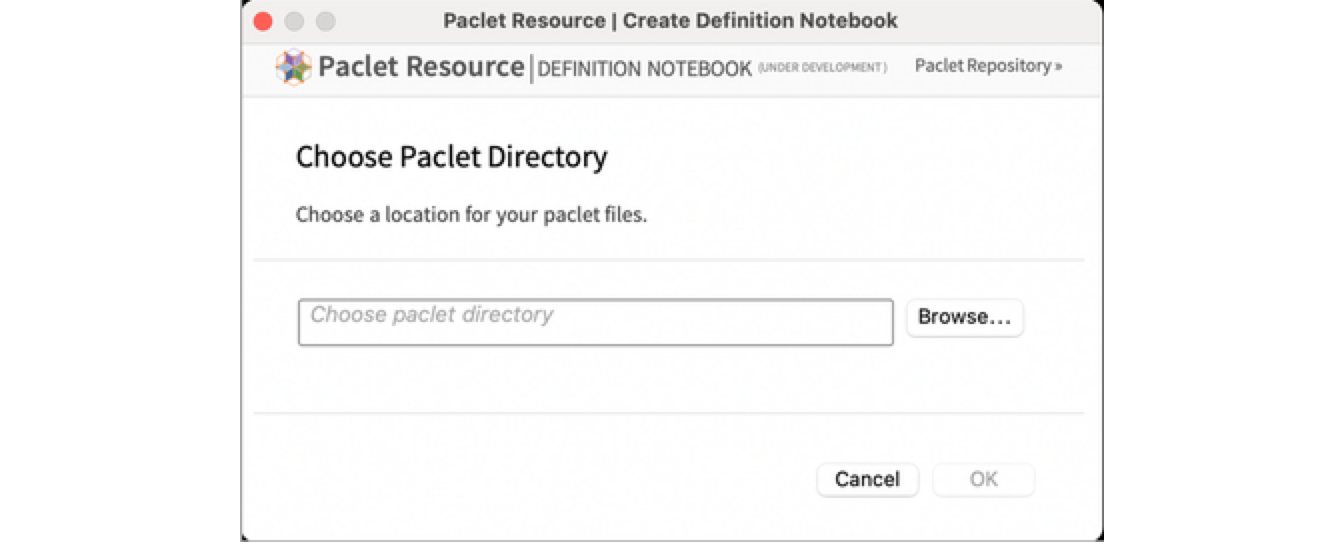
Paclets need to have a PublisherID prefix in their names to be published in the Paclet Repository.
If you have a PublisherID, it will be chosen by default. You can set a different value manually. Your publisher IDs are visible by signing into the Wolfram Cloud and visiting your publisher page.
Choose Convert a copy of paclet to create a copy of the paclet with the PublisherID automatically added throughout the paclet:
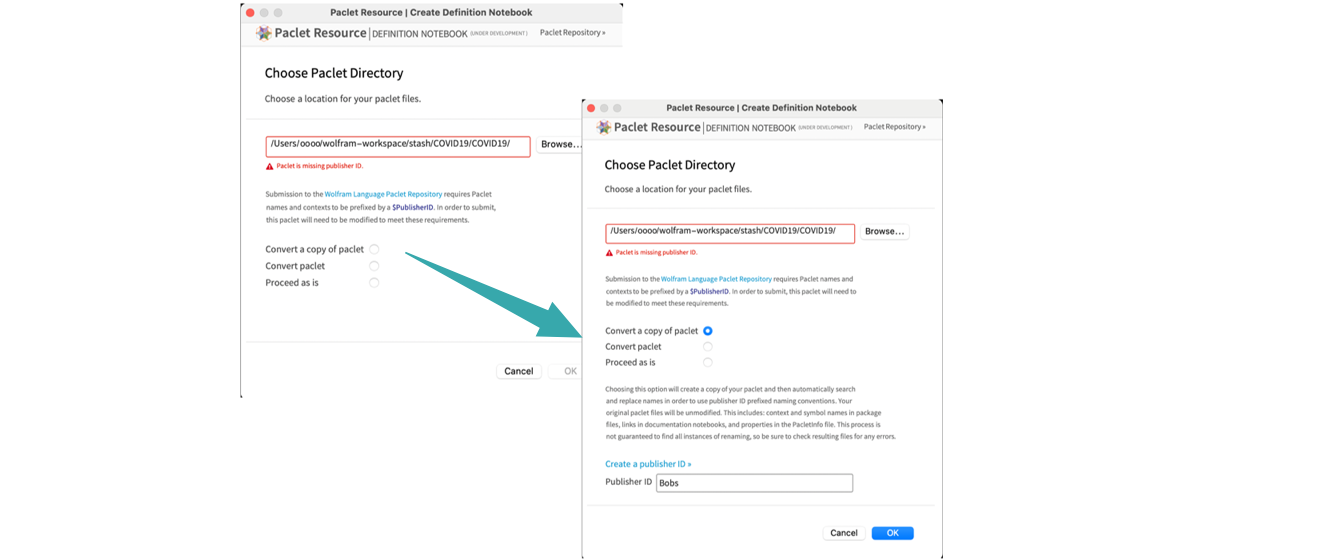
If the paclet is already configured with a publisher ID, no conversion is necessary. Press OK to create a definition notebook:
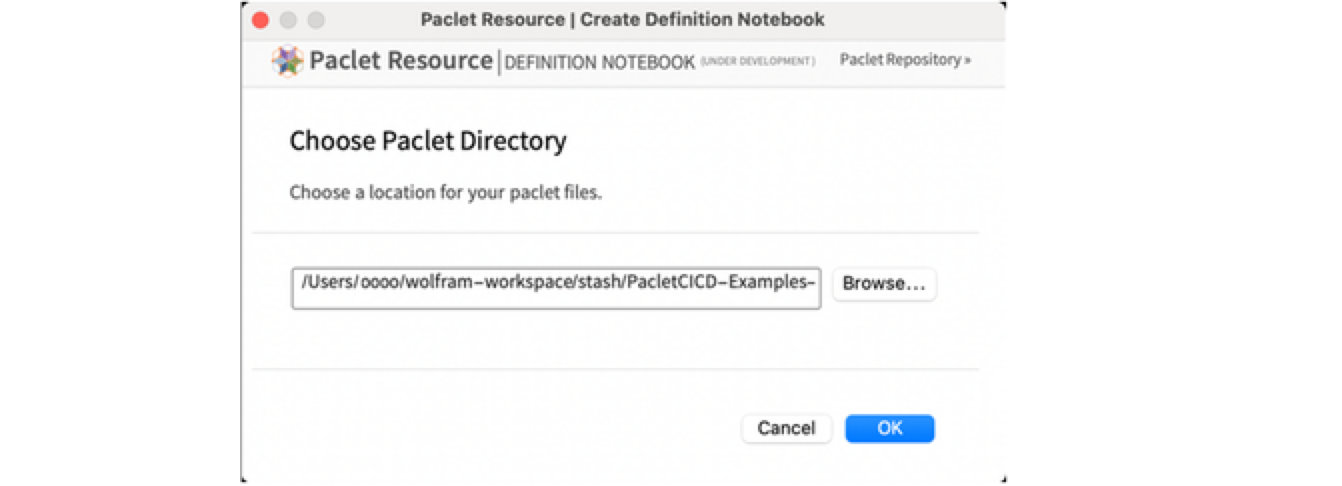
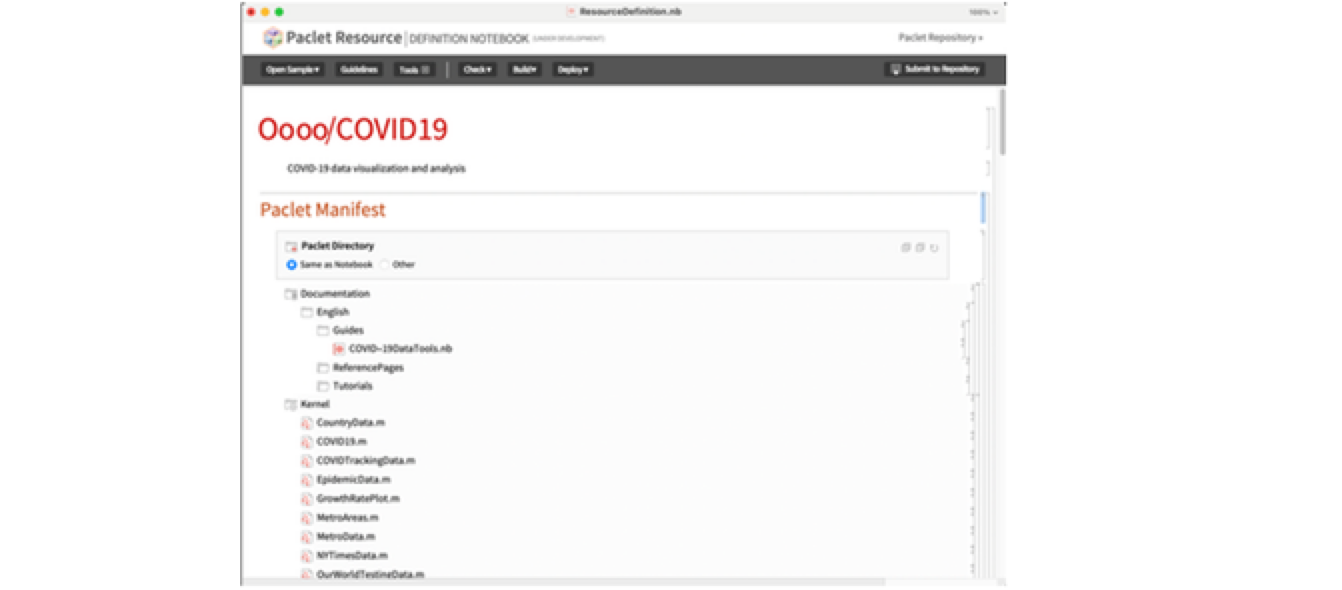
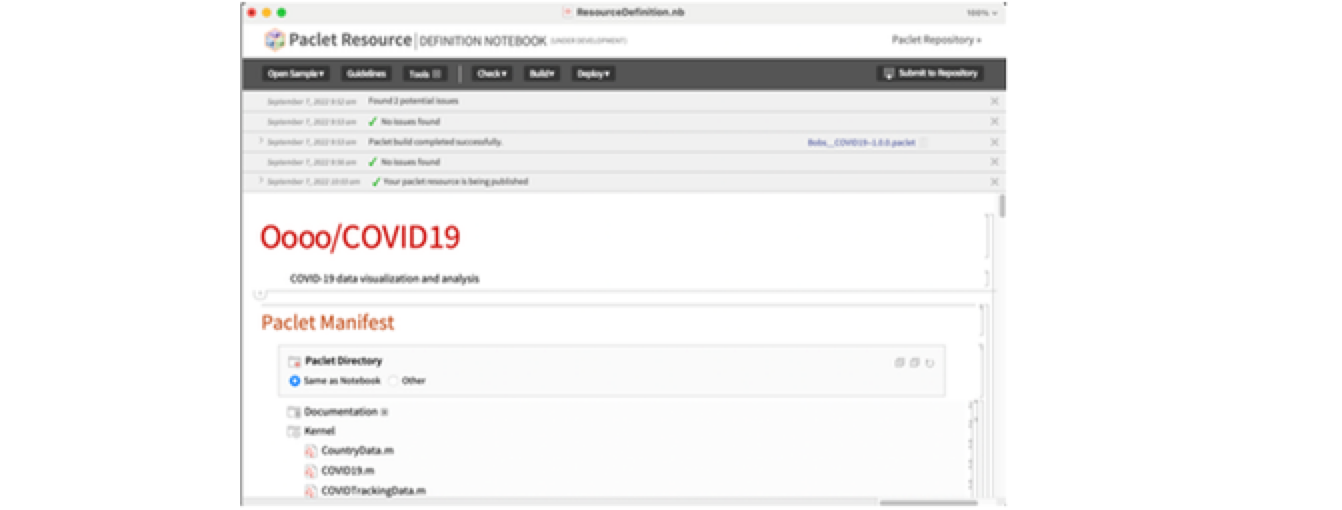
A new Paclet Resource Definition Notebook is created for your paclet:
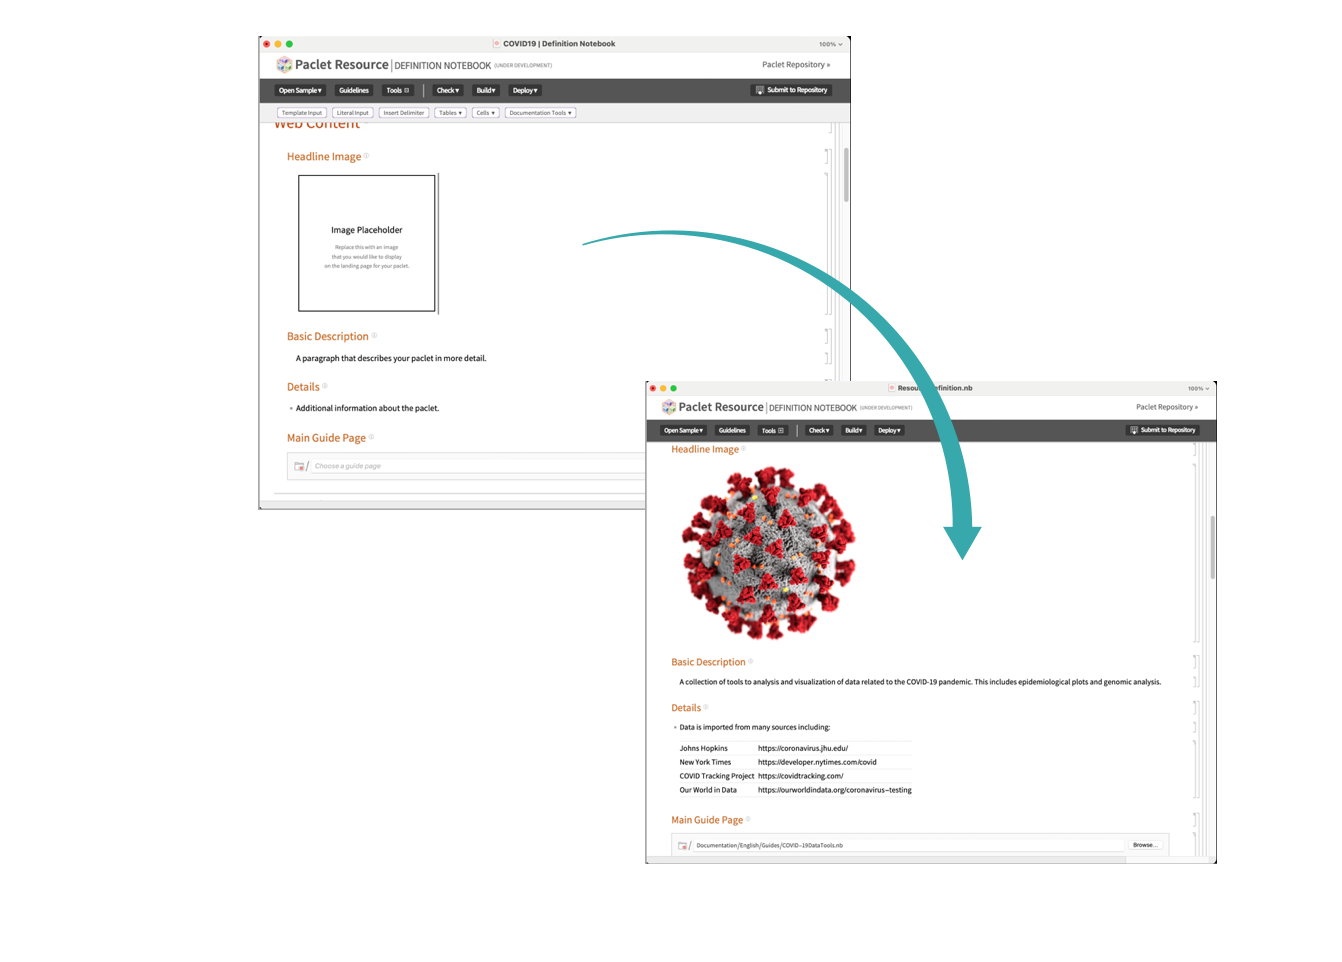
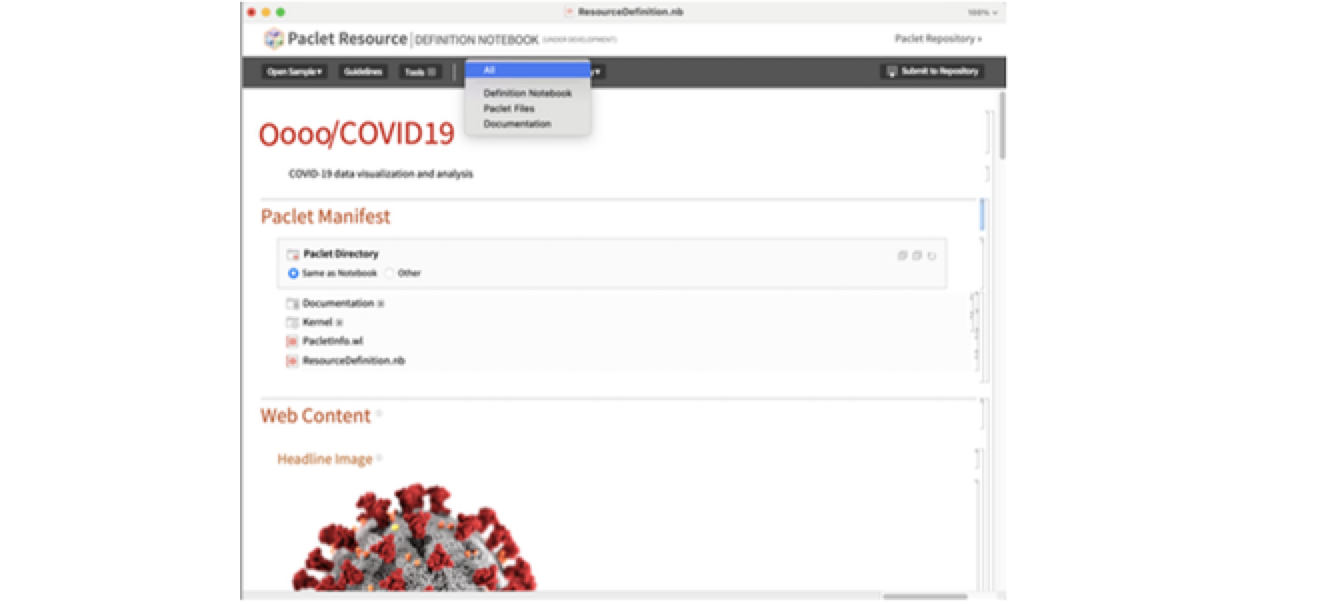
Fill in web context
Copy and paste an image into the Headline Image field. If you have a primary guide page in your documentation, select it for the Main Guide Page. Fill in the Basic Description and Details according to the directions in the information buttons:
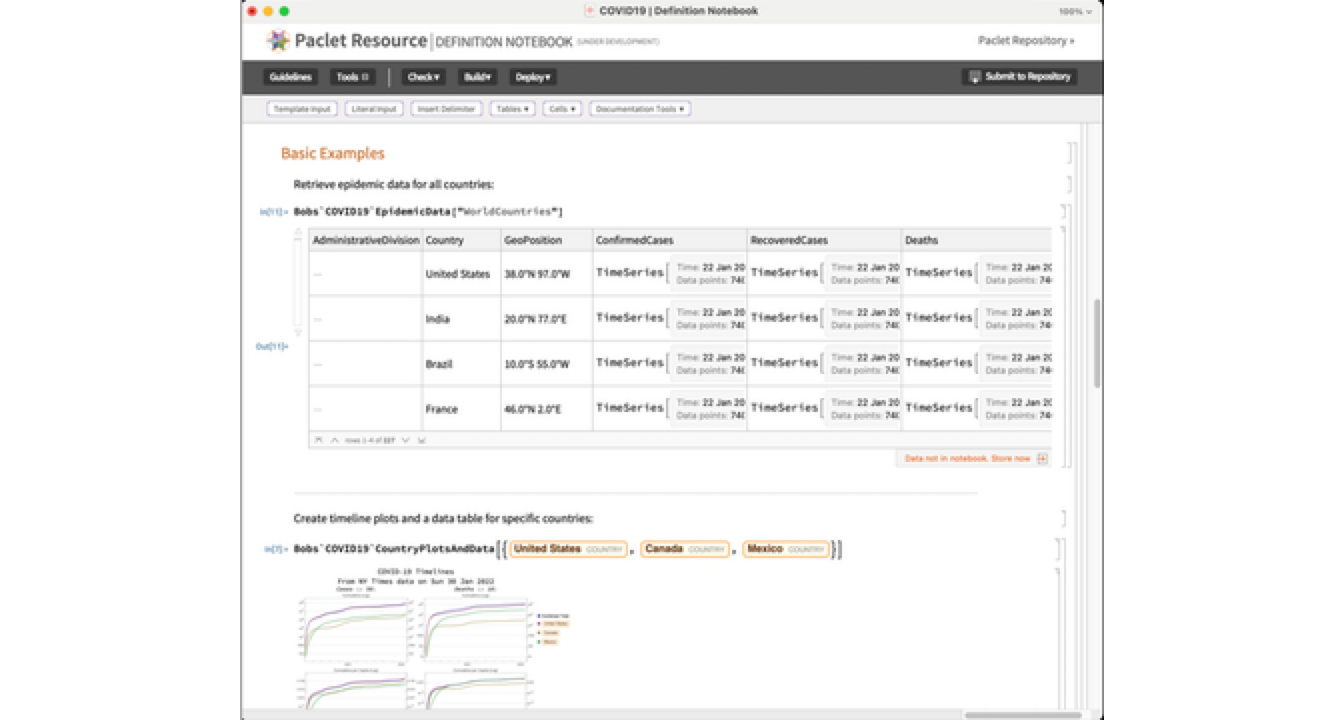
Create basic examples
The Examples section in the definition notebook is intended for a brief set of basic examples to communicate the primary use of the paclet. Detailed and comprehensive examples should be included in the documentation pages.
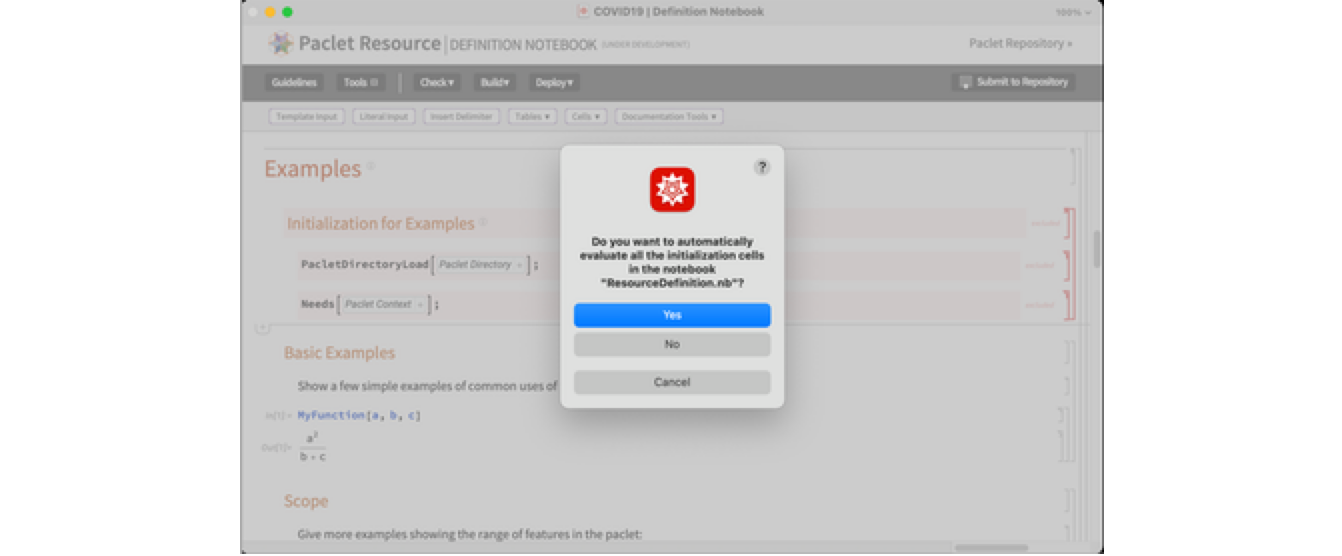
When prompted, choose Yes to evaluate the excluded initialization cells and ensure that your paclet is loaded:
Include a caption for each example and use the Insert Delimiter button to split independent examples:
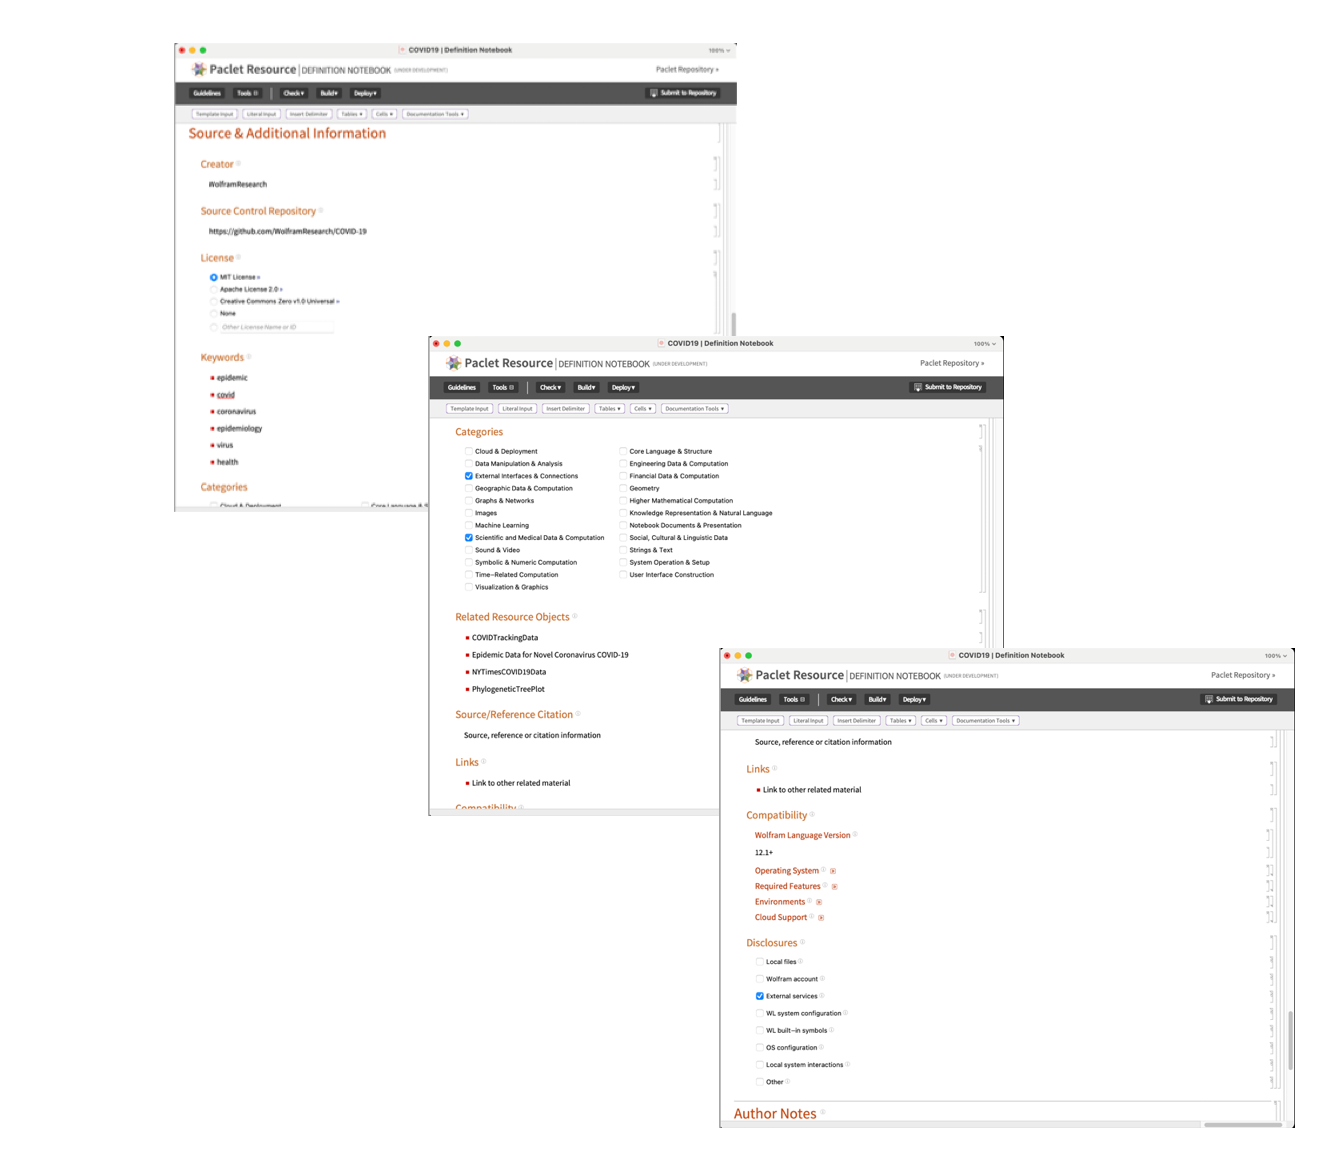
Fill in Source and Additional Information
Complete the Source and Additional Information fields according the the directions in the information openers:
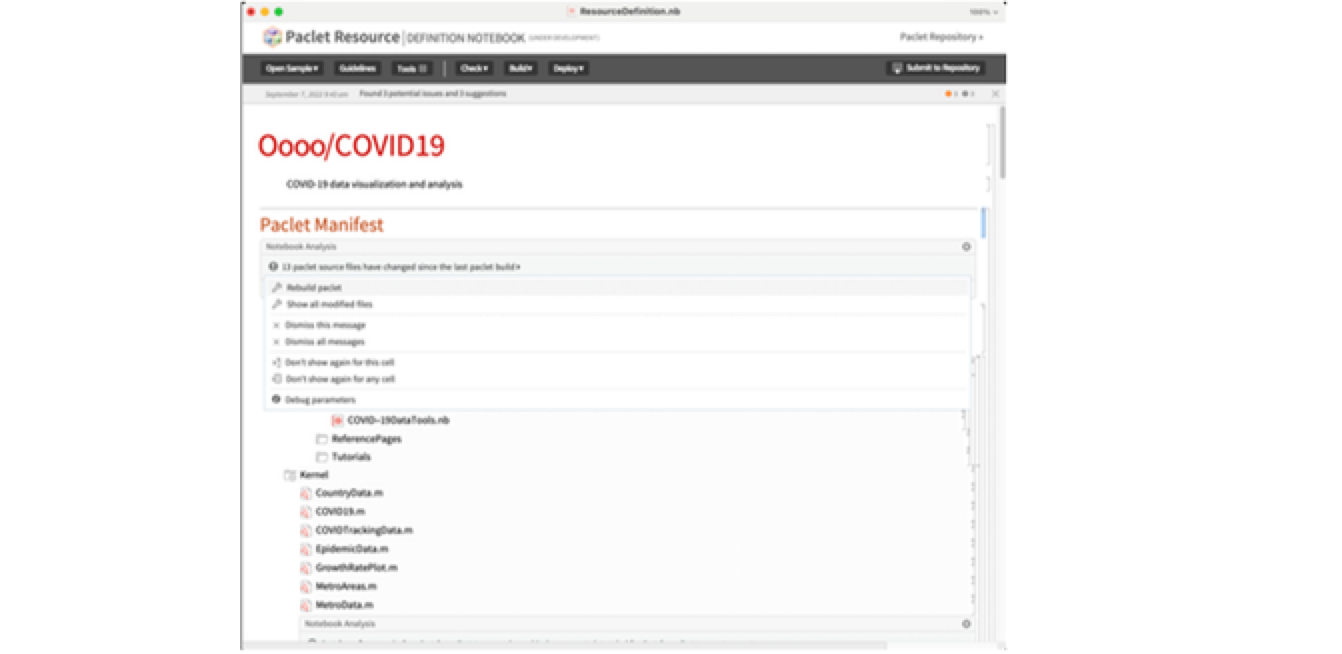
Use Check to perform automated validation
From the toolbar, select Check ▶ All. The automatic validation tool will provide warnings and suggestions to modify your paclet:
Review the warnings and suggestions. Many suggestions will have automatic fixes available from the right side of the stripe:
Build the paclet
From the toolbar, select Build ▶ All. The paclet will build along with the documentation to create a distributable paclet archive:

Check the paclet again
From the toolbar, select Check ▶ All. Now the built paclet will be included in the automatic validation:
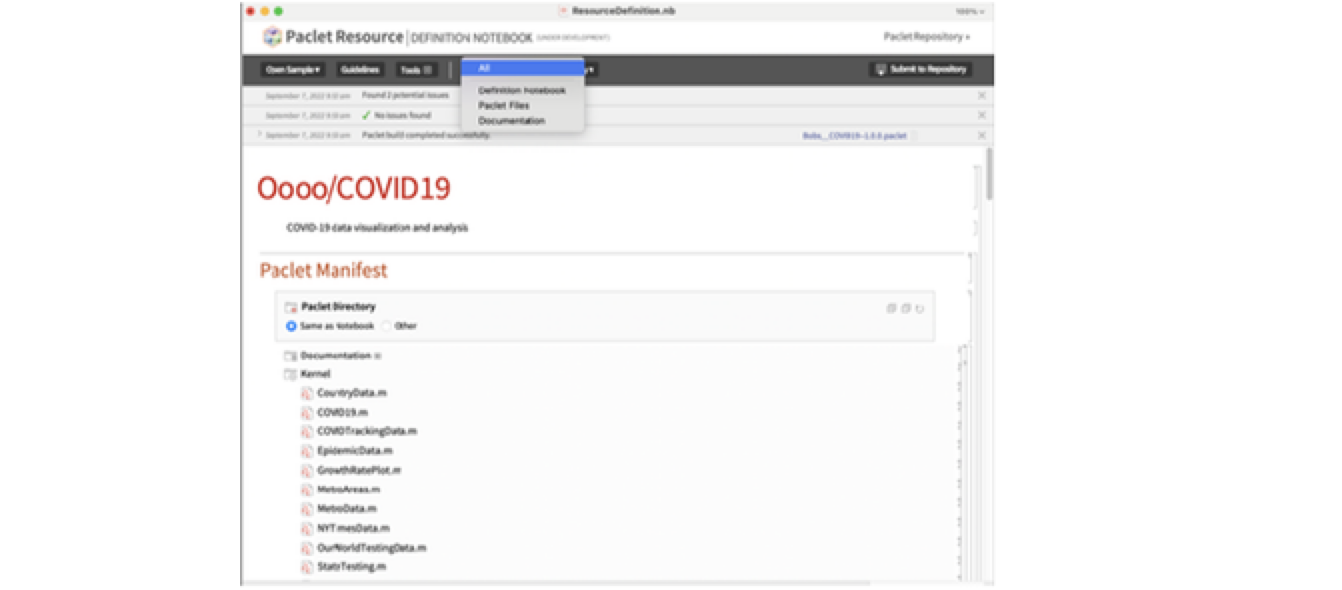
Address any warnings and suggestions, and repeat the check until no issues are found.
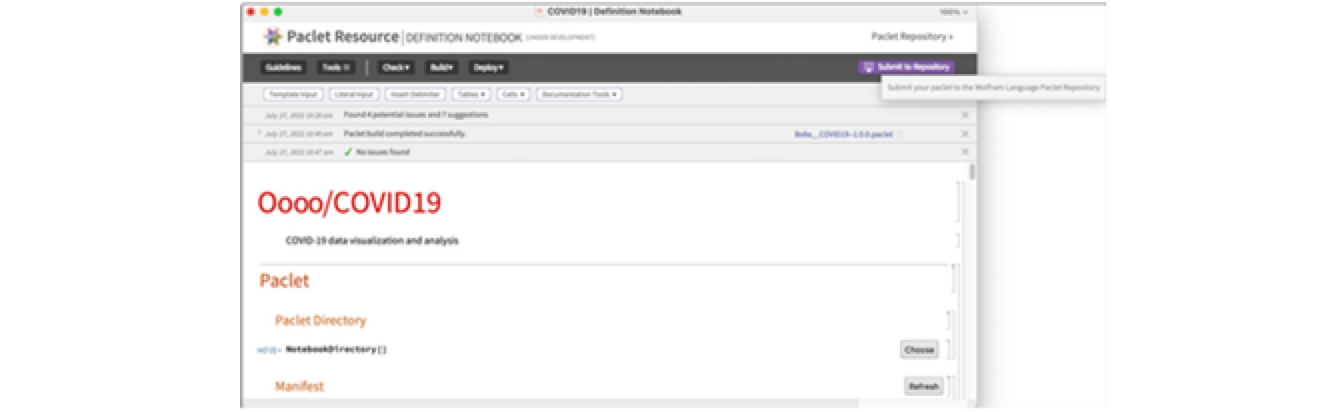
Publish your paclet
Use the Submit to Repository button to begin the publication process:
Depending on the amount of documentation, the process can take several minutes to submit the paclet. When complete, a message will tell you the paclet is being published:
The publication process can take several more minutes. You will receive a confirmation email when the paclet is published.